
What does vinyl tile flooring cost in the New Hampshire seacoast region?
Our company recently installed engineered vinyl tile flooring for a client in Dover, NH. The project came out beautifully, and our client was thrilled to be able to enjoy her new kitchen floor.
In this article, we will share with you what was entailed in this project, and what you can expect to invest in a similar project in your home.
What is involved in a flooring project?
Our client’s home has a long galley kitchen. There is a small laundry room and two small pantry closets attached to the end of the kitchen. A water leak from the washing machine had flooded the laundry room and overflowed into the kitchen & pantries. Unfortunately, this water made its way under the existing flooring and ruined the poor-quality particle board subfloor in these rooms.

When she called us, our client was worried that she was going to fall through her kitchen floor! The water damage had caused so much swelling and weakening of the subfloor, that her kitchen floor felt soft and “spongy” under her feet! She was worried that her floor was going to fail, and rightly so!
She asked what we could do to fix this problem and give her a strong, solid feeling floor in her kitchen & laundry room. We scheduled an on-site consultation, where we assessed the condition of her floor and listened to her desires for her space. We concluded that we needed to replace both the flooring and the subfloor in the damaged areas.
Our client chose Armstrong Alterna engineered vinyl tile flooring. We ordered the flooring and got to work replacing the subfloor!
What is the workflow like in a flooring project?
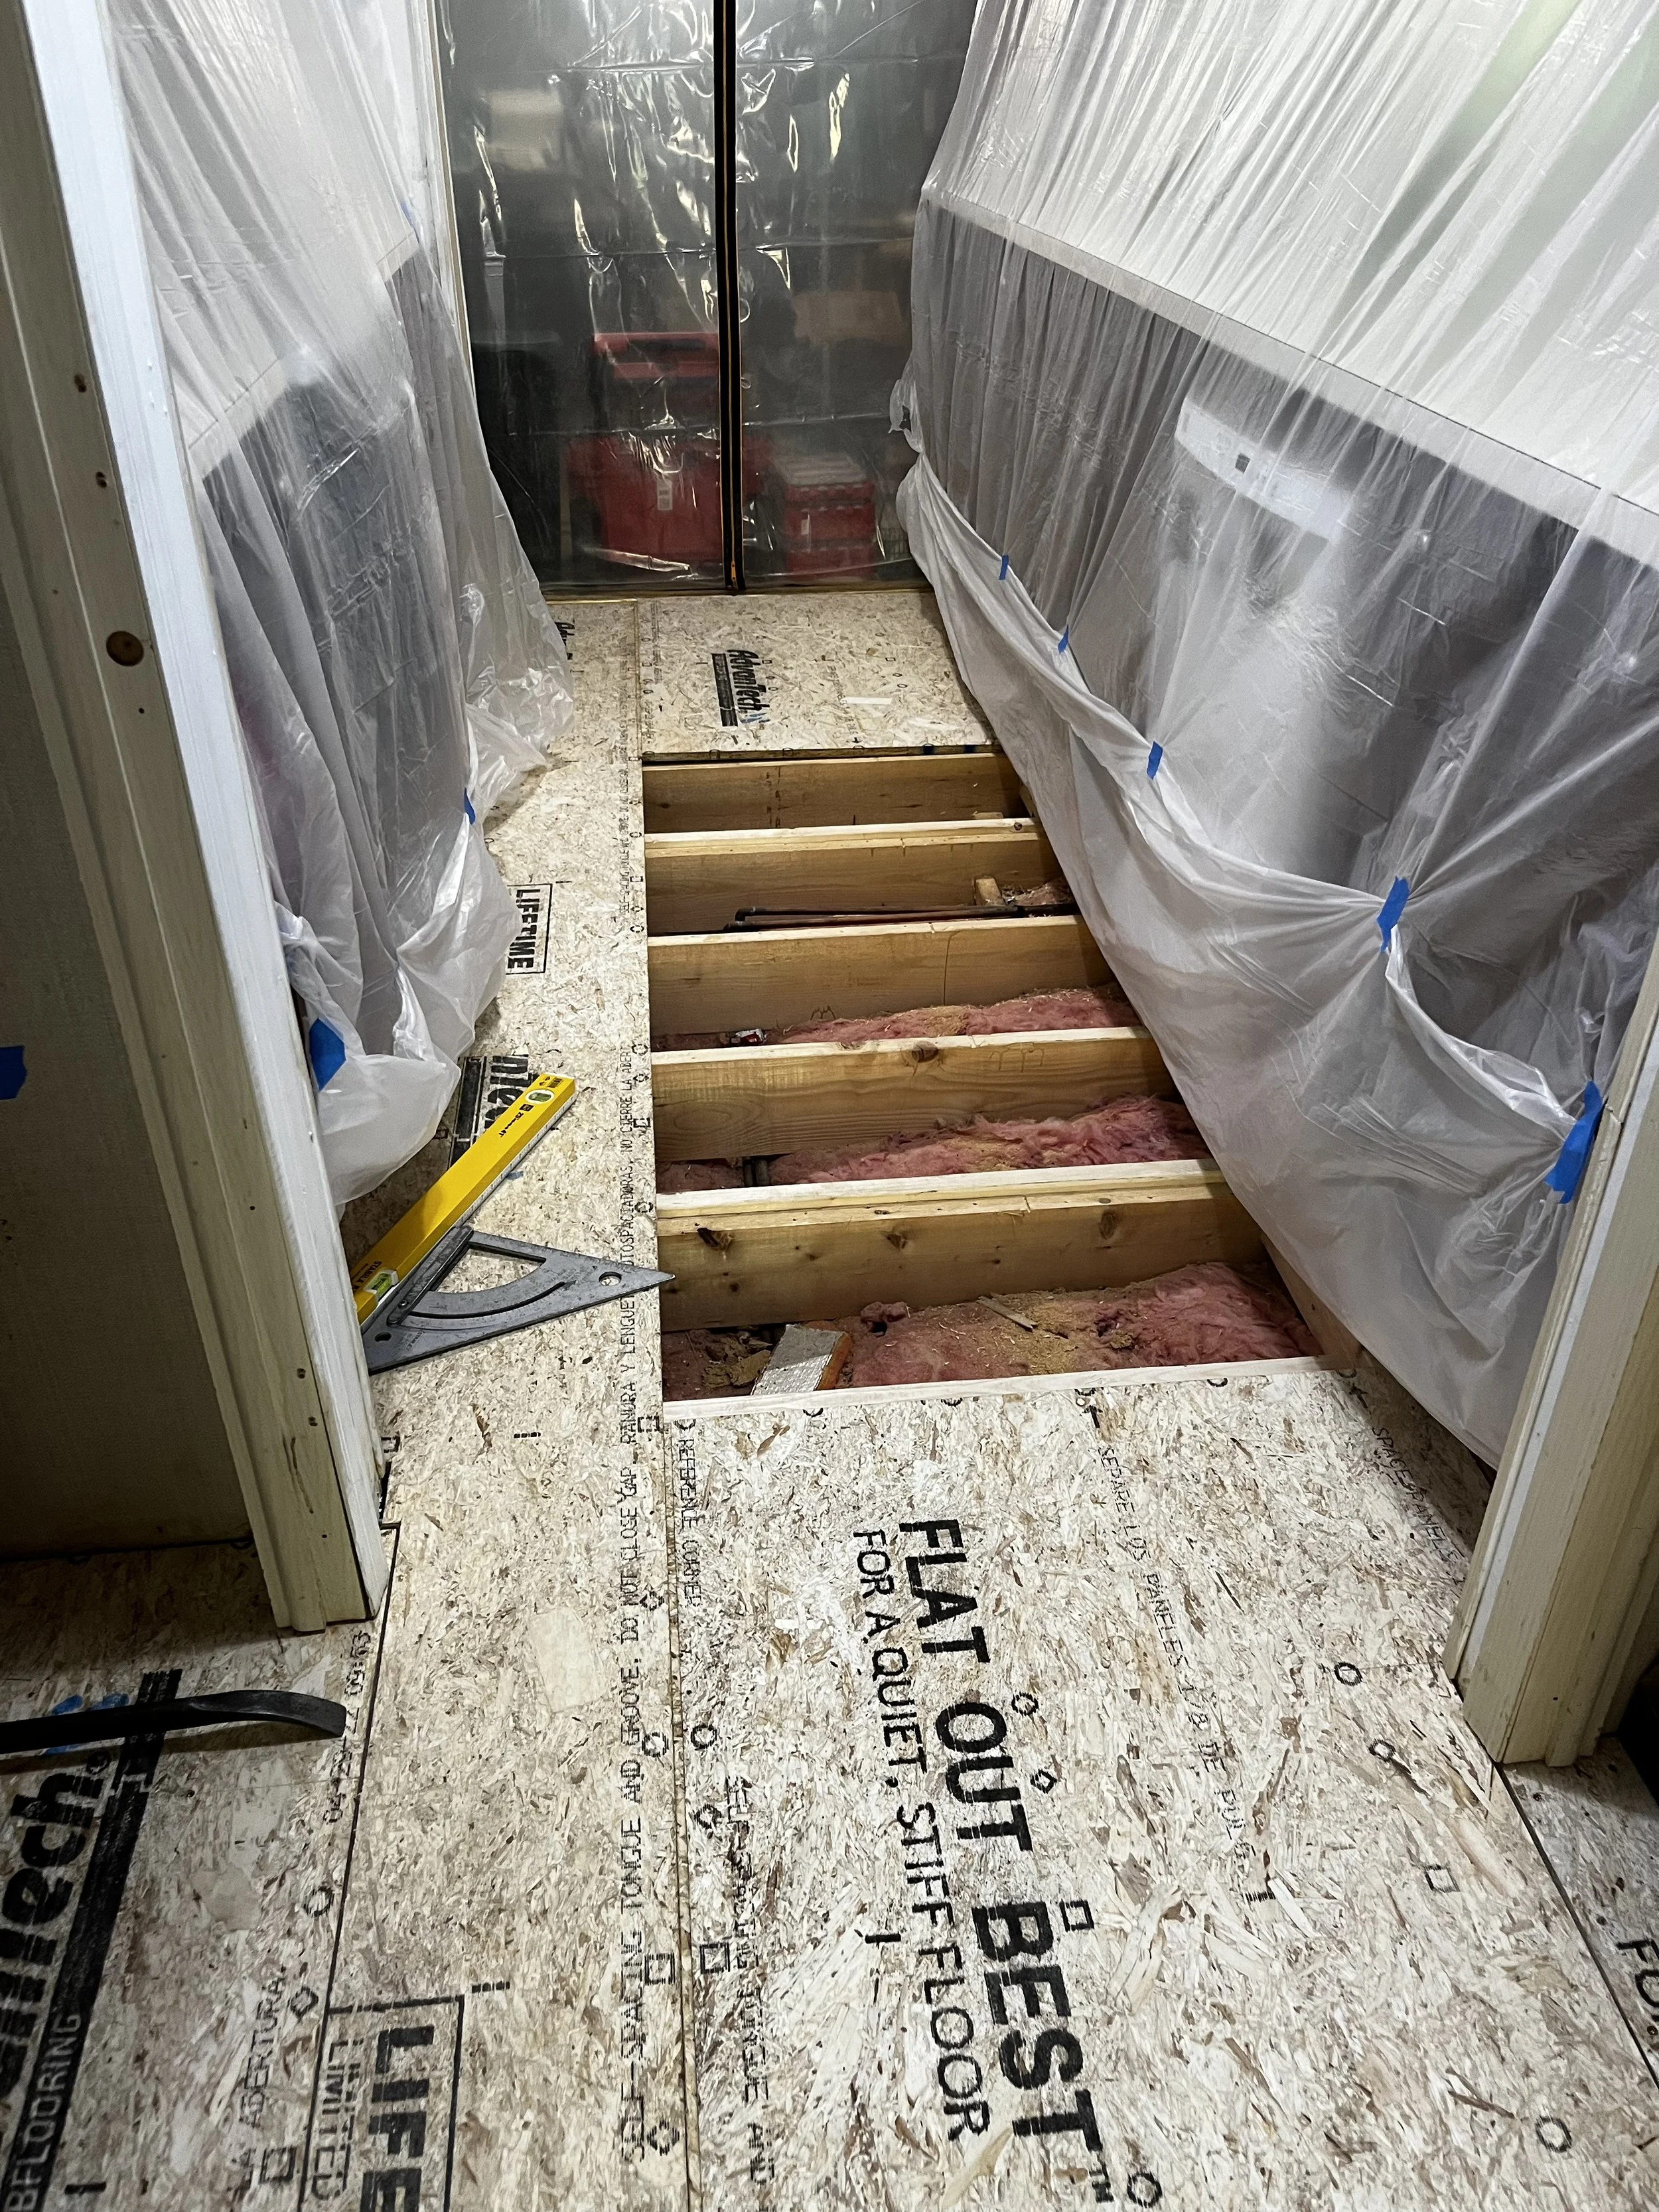
We cut the old subfloor flush with the walls and the kitchen cabinets with a toekick saw and an oscillating multitool. We then removed the damaged subfloor. Once the subfloor was removed, we installed blocking under the walls and on the edges of where the new subfloor would go.

We then checked the existing floor joists for flatness and took the necessary actions to ensure that the new floor would be flat when we were done. We did this by taking a planer to the high spots, and sistering new joists in the low spots.
Once the floor flattening was done, we applied subfloor adhesive onto the floor joists, and laid the sheets of Advantech premium subfloor over them. We screwed the subfloor into the joists with subfloor screws.
Now, we checked the floor for flatness again, with a long straight edge. We found that we had done a good enough job with making the floor joists flat, we could lay the flooring!
If we had missed a spot or two, and the new subfloor didn’t meet the flooring manufacturer’s specifications for floor flatness, we would have used a floor patch product to fill in the low spots and make the floor flat. Thankfully, we didn’t have to do that on this project.
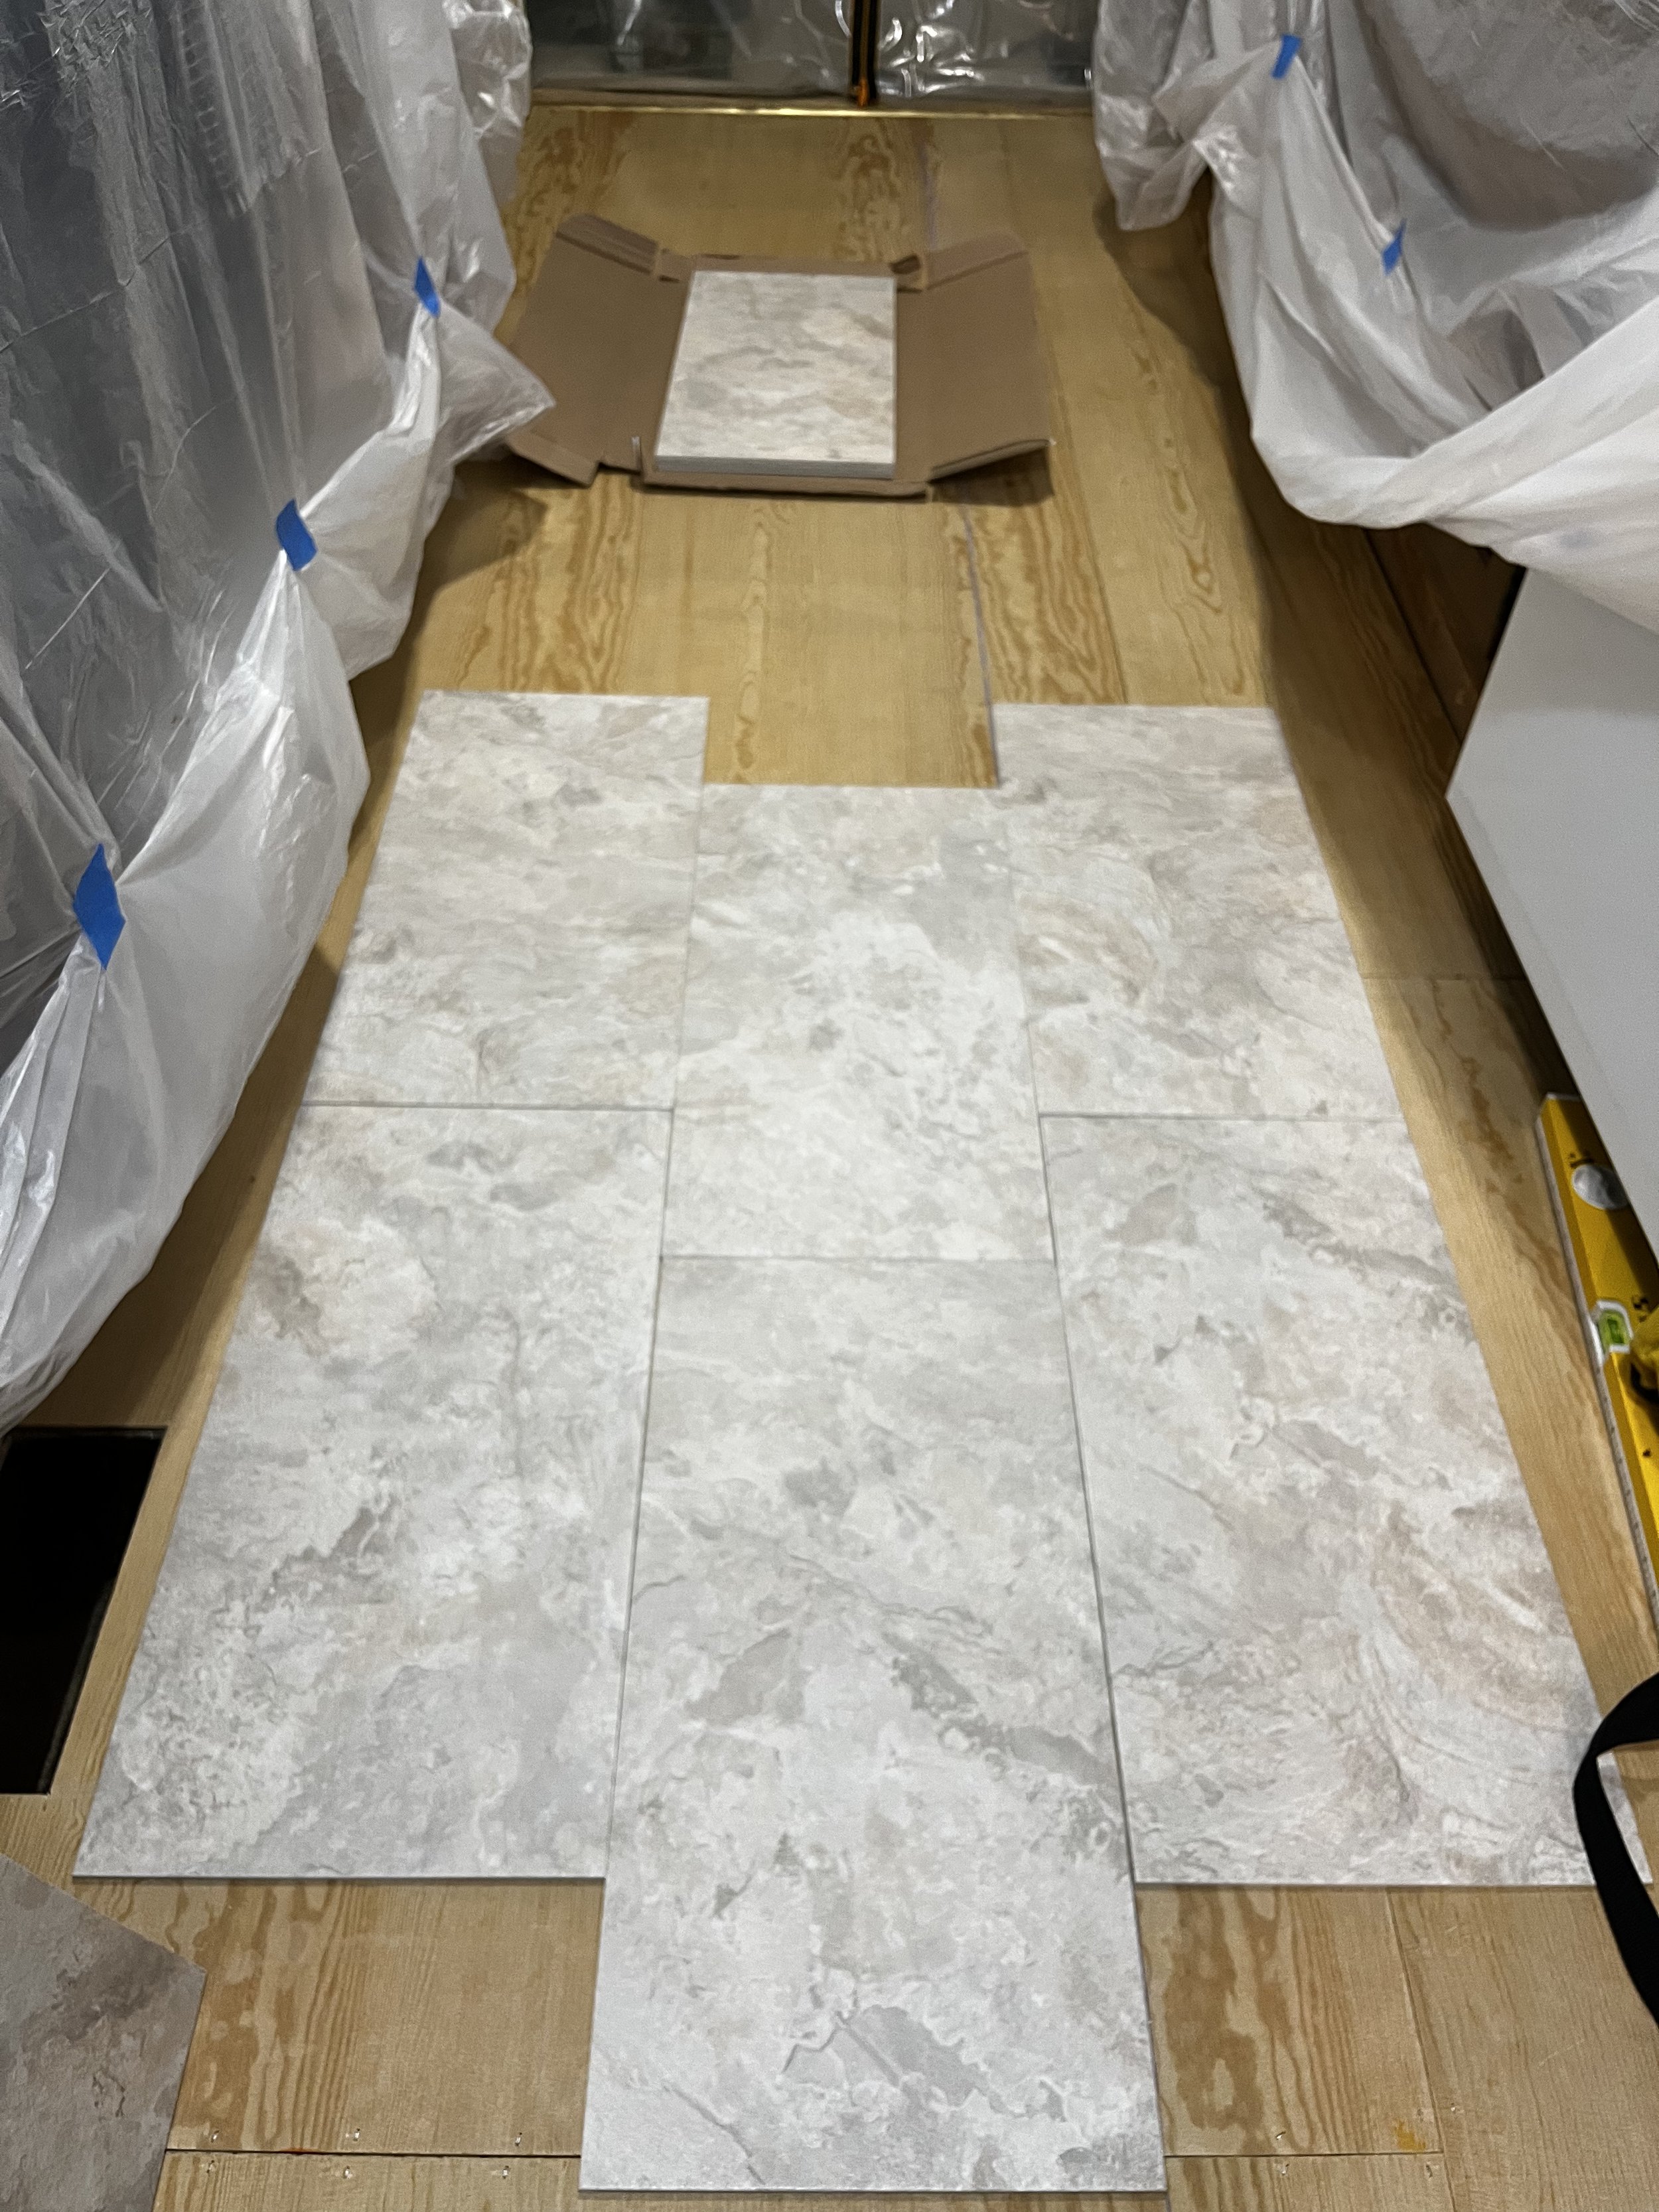
Next, we laid out the spacing and offset of the vinyl tiles, and calculated where our underlayment seams would need to go in order to meet the flooring manufacturer’s specifications for the flooring layout. Once we had our layout, we cut ¼” floor underlayment plywood to fit, laid it over the subfloor, and stapled it with a pneumatic stapler.
After cleaning the subfloor thoroughly, we troweled the vinyl floor adhesive onto a section of underlayment and waited. Once the adhesive “flashed”, and was dry but tacky to the touch, we had one hour to get the tiles laid and rolled before the adhesive was set up and no longer viable!
We worked in sections to apply adhesive, then set and roll the vinyl tiles within the acceptable “open time” for the adhesive. This area was so small, we couldn’t get a large flooring roller into the space to roll at the correct angle for bedding the tiles, so we used a hand roller to bed the tiles into the adhesive.
Once the tiles were set, we grouted them with a flexible acrylic grout from the same flooring manufacturer. This grout is applied in a very similar fashion to cementitious tile grout: apply the grout to the joints, and clean it with water.
After the grout was installed and cleaned, and it had time to set up for 24 hours, we came back and re-installed the base trim and quarter round.
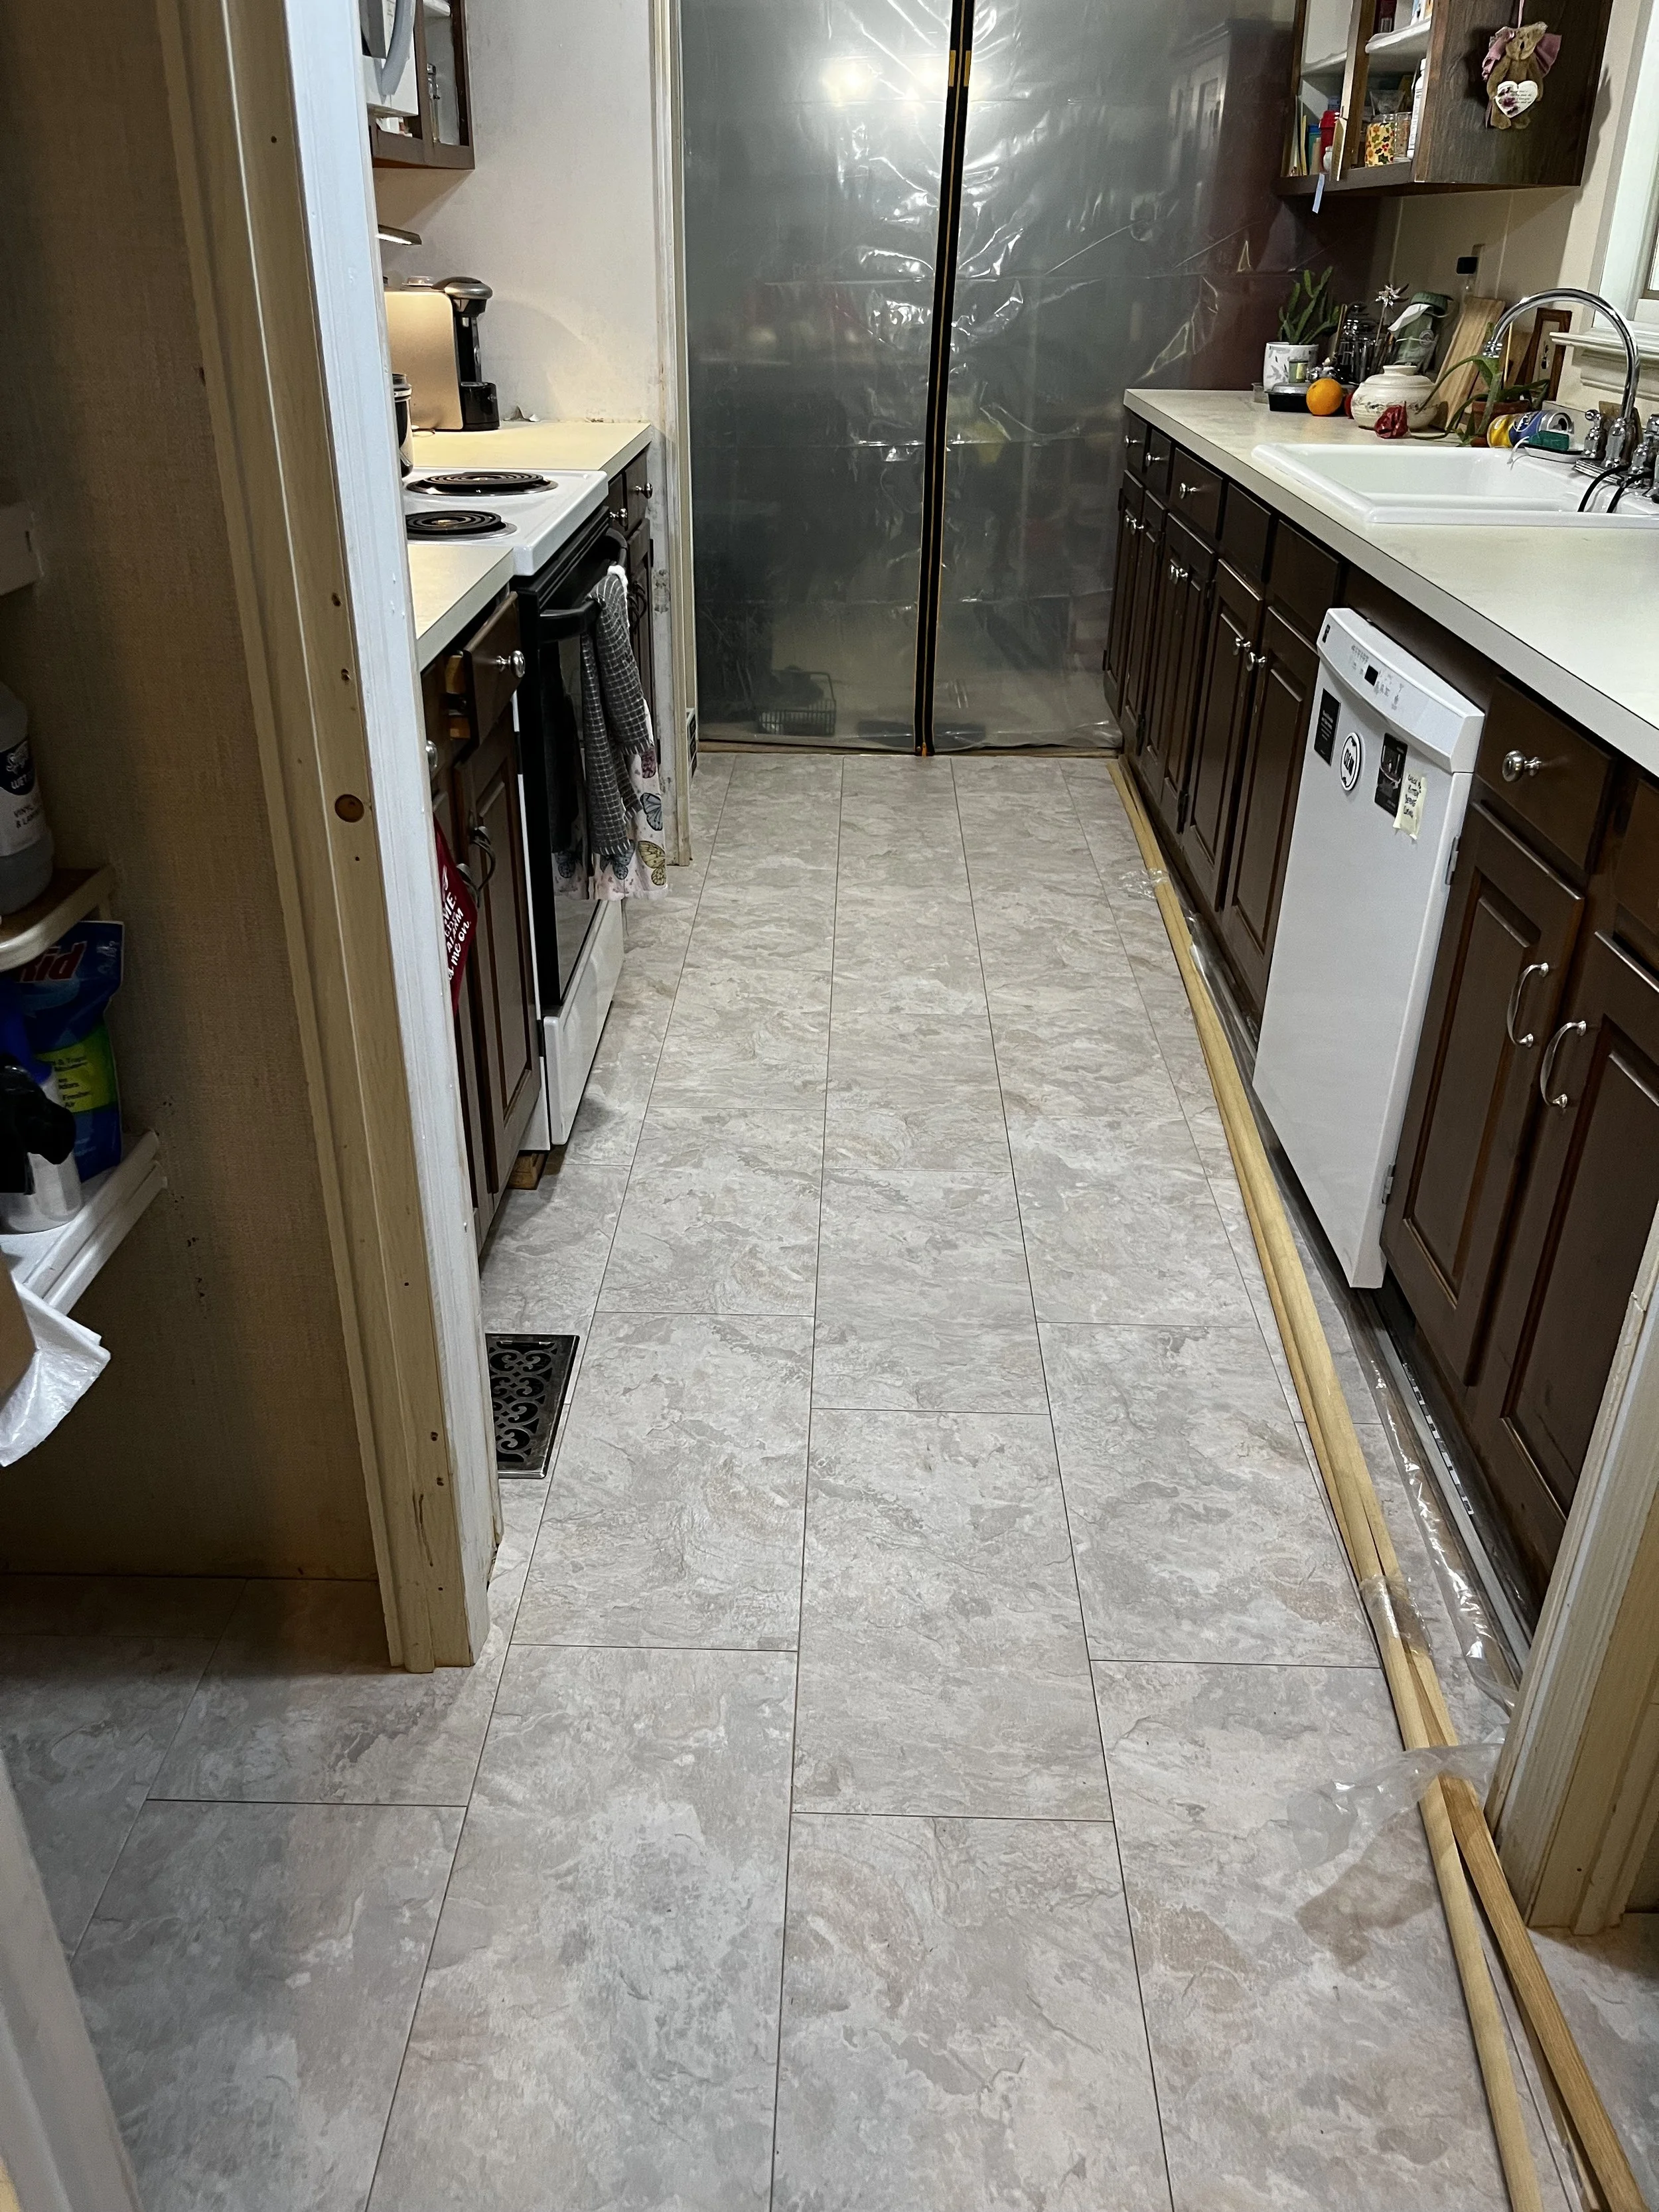
The project was an incredible amount of work, but when we were done, our client’s floor was flat, strong, sturdy, and beautiful! She was thrilled to feel safe again in her beautiful home!
How much does it cost to replace flooring?
This project included the replacement of the subfloor and engineered vinyl tile flooring in an approximately 120-square foot area of the kitchen & laundry room.
A project like this will generally require an approximately $12,000 investment when it is done in the New Hampshire seacoast area.