How much does it cost to replace an acrylic shower?
A couple of months ago, a homeowner talked to us about replacing a failing bathroom floor. When we arrived to inspect the floor, she informed us that she was also unhappy with the bathtub that was currently in the bathroom. She asked us if we could replace the bathtub with a shower unit at the same time that we were replacing the flooring. We were happy to help her upgrade her bathtub to something more functional!
What did the remodeling process look like?
We began by removing the fiberglass bathtub and ceramic tile tub surround. We then removed the flooring and subfloor.
Once the subfloor was removed, we took advantage of the access we now had to have our plumber upgrade the tub drain to 2” drain pipe. Building code allows a bathtub drain to be 1 ½”, while a shower is required to have a 2” drain pipe. Since we were replacing the bathtub with a shower, we needed to upgrade the drain pipe that served the new shower.
Once the drain pipe was replaced, we installed ¾” premium OSB subfloor over the existing floor joists. We have had great success with Advantech OSB subfloor, made by Huber Engineered Woods, so that is what we used on this project.
Next, we had our plumber install a new shower faucet, new pipe for a shower head and hand shower, and the Aker fiberglass/acrylic shower unit. We used a Delta shower faucet with an integrated selector valve so that our client would be able to use both the shower head and the hand shower with the same shower faucet.
When our plumber was done, we installed moisture-resistant drywall on the walls around the shower unit. We used vinyl drywall corner bead on the outside corners and vinyl drywall L bead on the seams that abutted the shower unit. We finished the drywall with a set-type joint compound (“hot mud”) that allowed us to apply multiple coats of joint compound in a single day.
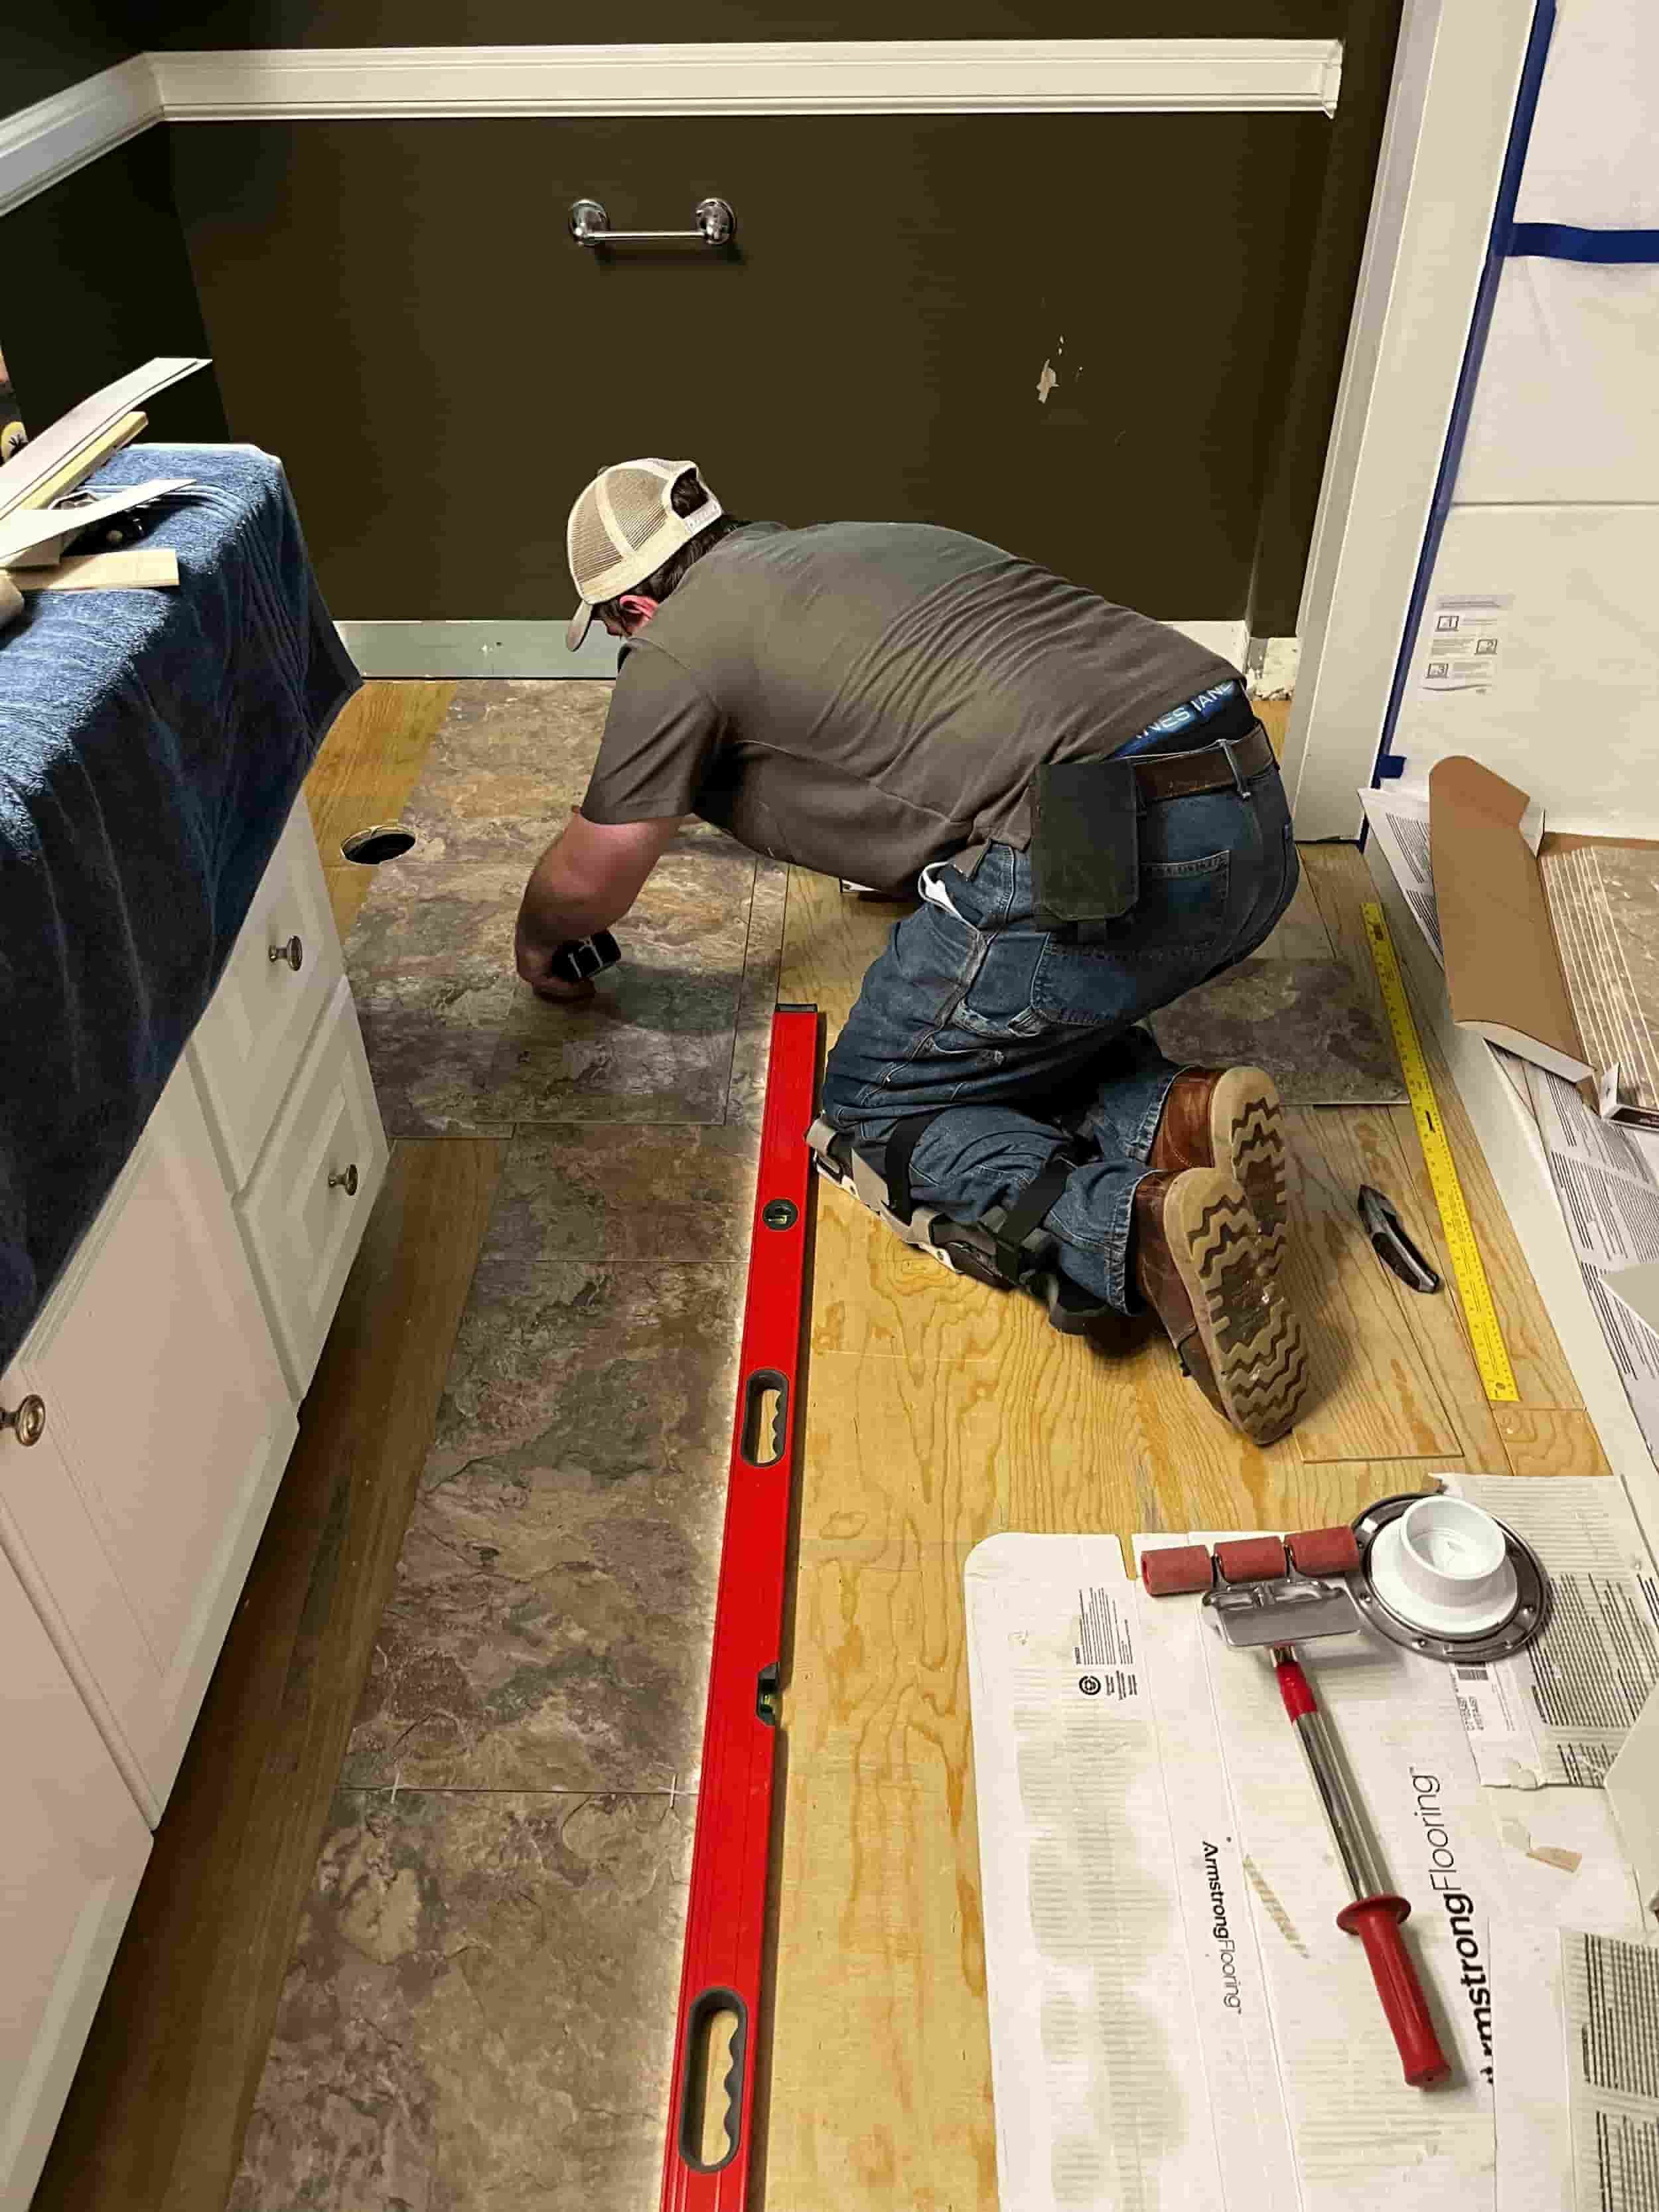
While the joint compound dried, we installed ¼” flooring underlayment over the subfloor. We then glued down Armstrong Alterna engineered vinyl tile flooring and grouted it with Armstrong acrylic grout.
Once the flooring was installed, and the drywall joint compound was dry, we laid drop cloths down on the new floor. We then sanded and primed the drywall, re-installed the base trim, caulked around the shower unit, and painted the new drywall and the base trim.
At this point, our plumber came back to re-install the toilet and install the showerhead, hand shower, and faucet trim. We then installed the shower doors, also made by Maax, the manufacturer of the shower unit.
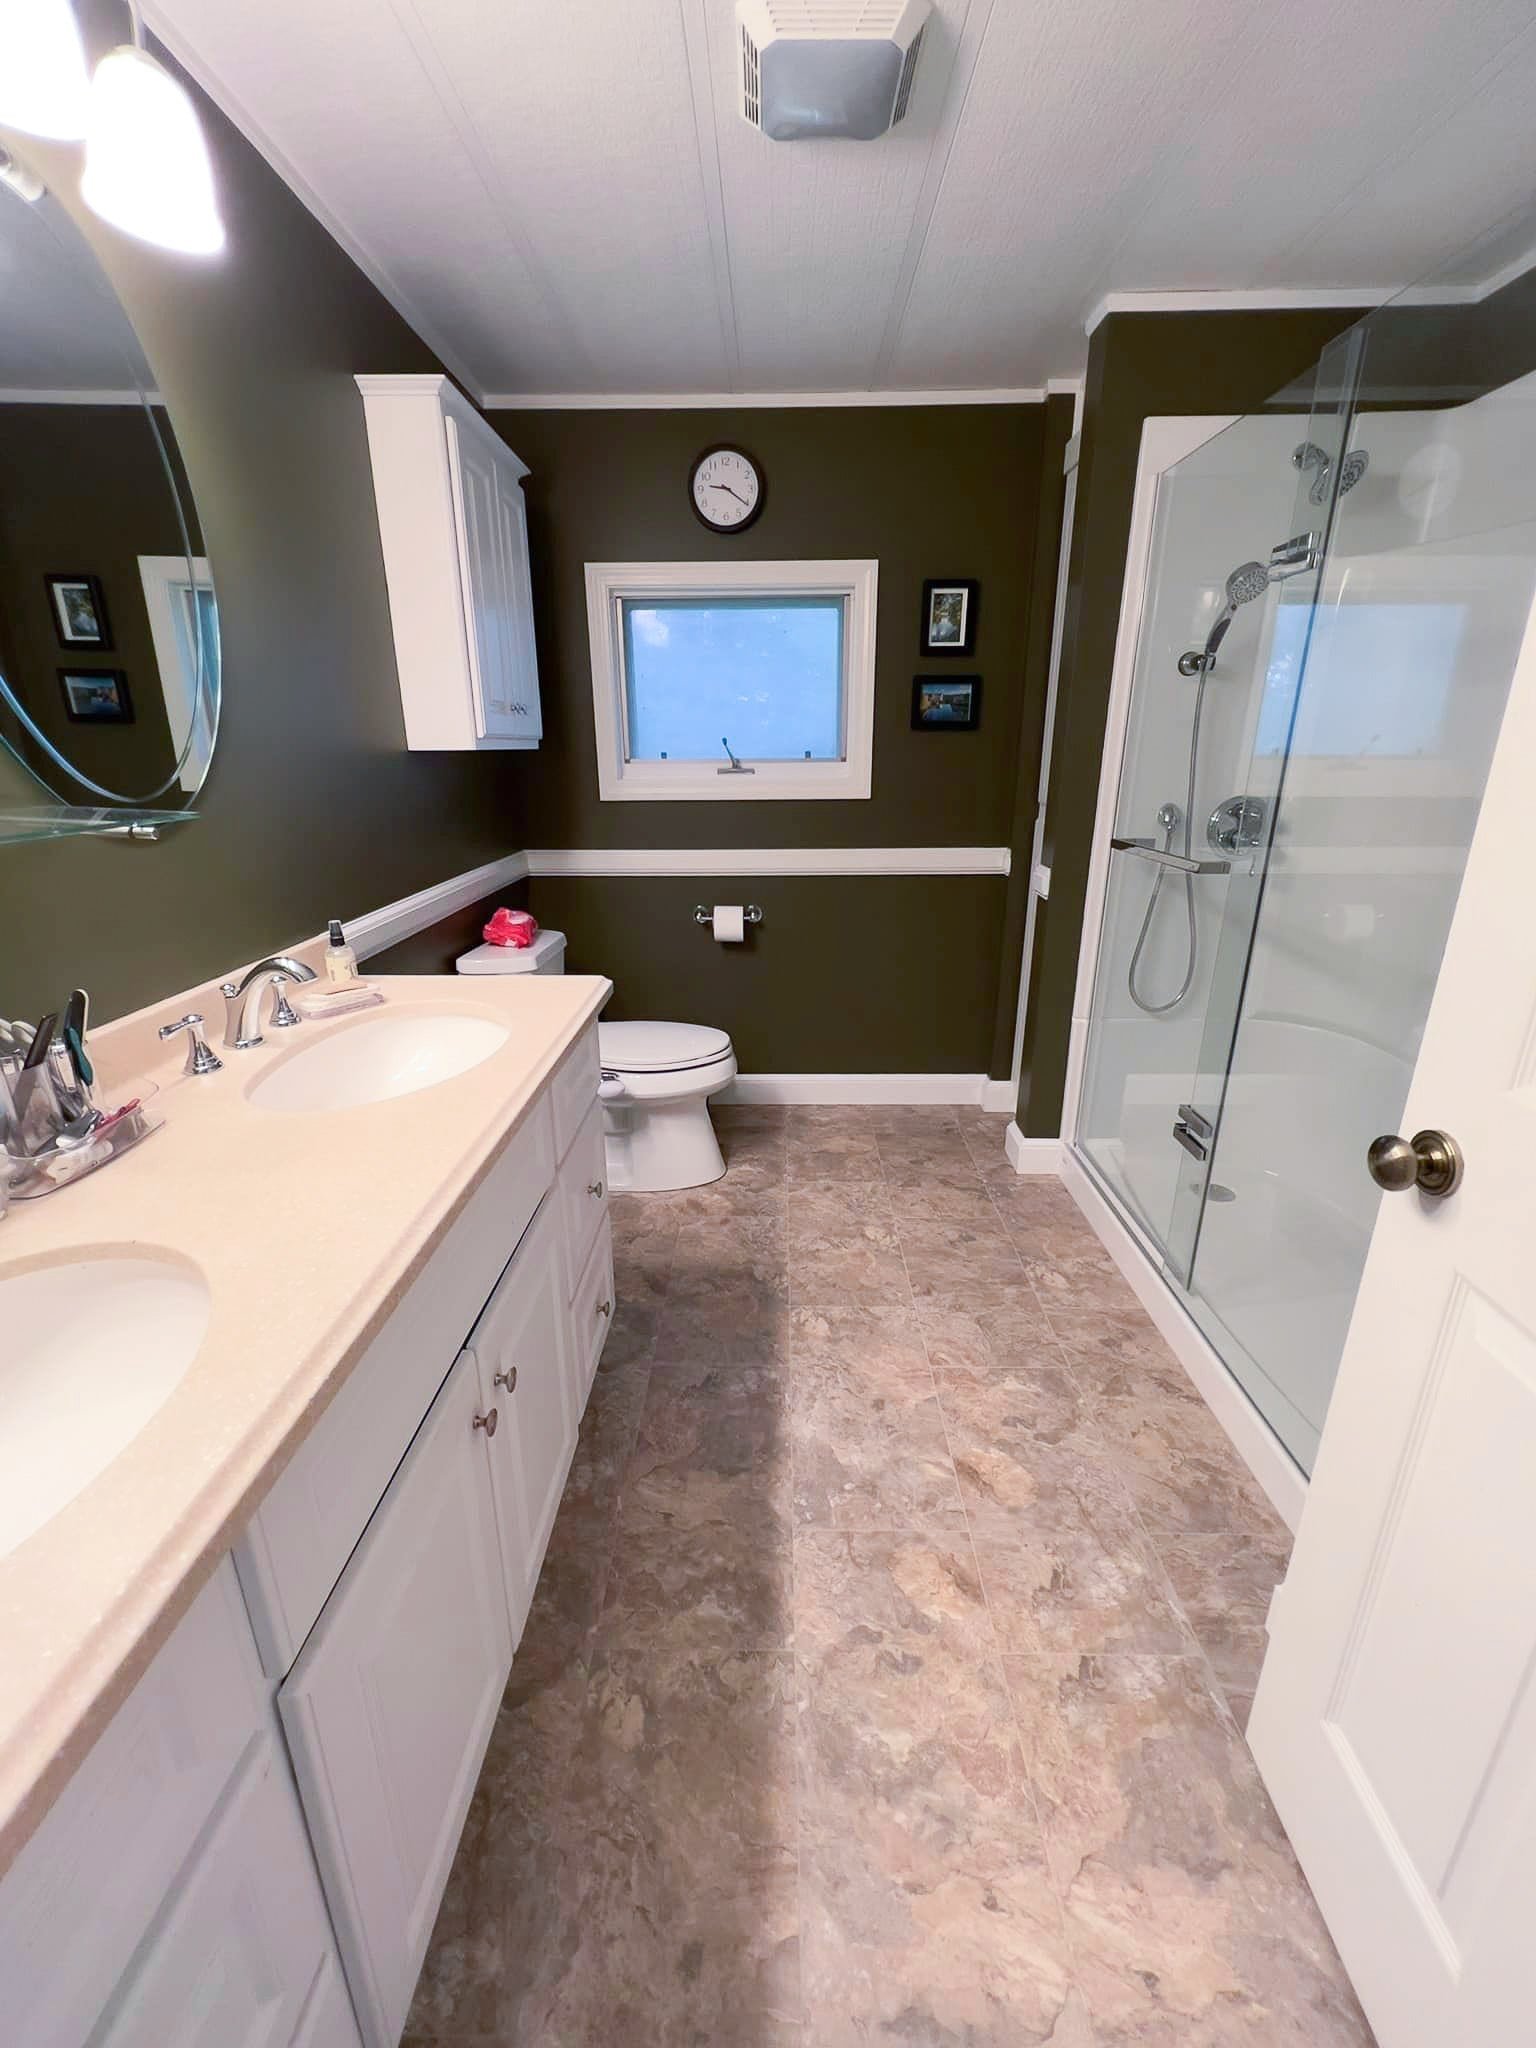
The finished project was both beautiful and functional! Our client no longer has to worry about a failing floor, and she doesn’t have to shower in an awkward bathtub anymore!
What will a shower replacement cost?
If we were to just replace the shower: install a new fiberglass/acrylic shower unit; install a new shower valve, shower head, and hand shower; hang, tape, & paint new drywall around the new shower unit; and install new shower doors. The investment would be around $17,000.
How much does it cost to replace the flooring & subfloor?
If the subfloor replacement and engineered vinyl tile flooring installation were done as a stand-alone project, the investment for that project would have been around $9000.
How much does a shower and flooring replacement project cost?
Because we installed the shower at the same time we were replacing the floor, we were able to be more efficient than we would have been if we had done these projects separately. We saved time installing surface protection one time instead of two, we were able to do the demo for both projects simultaneously, we saved our plumber a couple of trips to the jobsite, and we only had to pack up and cleanup the site once, instead of twice.
When we combine these projects the way we did for this client, the investment for these two projects can be kept as low as $23,000.


